What Is the Best Diamond LED Display in 2026?
In 2026, choosing the best Diamond Led Display means looking beyond its striking shape. A diamond layout can turn a blank wall into a focal point, but the right system depends on the space, content, and viewing distance. A display in a retail window faces different demands from one in an event venue. Bright sunlight, close viewing, and long operating hours all change what “best” means.
This guide compares the practical details that buyers should verify: pixel pitch, brightness, refresh rate, color consistency, cabinet dimensions, and access for maintenance. It also considers installation constraints, control systems, power needs, and the quality of technical support. A fine-pitch screen may show crisp product images from nearby, yet cost more and require closer calibration. A brighter model may suit a sunlit setting, but brightness alone does not guarantee a pleasing image. That matters.
Reliable specifications are a starting point, not proof of performance. Ask for measured data, inspect a working demonstration, and check whether the proposed viewing distance matches your audience. If possible, review the display using the same type of content you plan to show. Small text and smooth gradients can reveal weaknesses that vivid promotional footage hides. Not always. No single product fits every project, and even careful planning can miss a detail on site. The sections ahead offer a clear framework for comparing options, questioning supplier claims, and selecting a Diamond Led Display that fits real operating conditions—not just a product sheet.
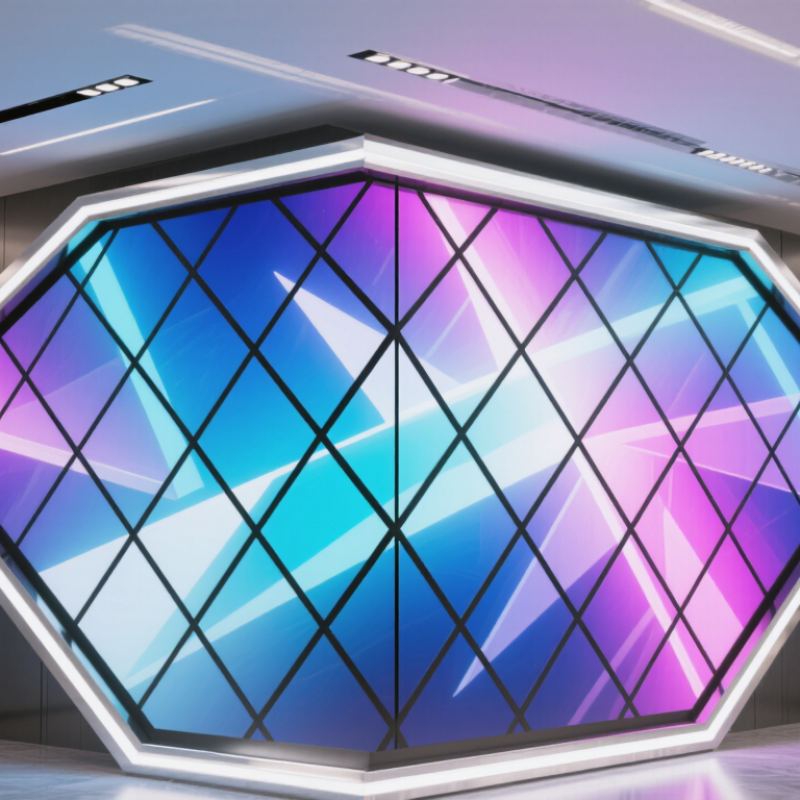
Defining Diamond LED Displays: Faceted Geometry, Modules, and Pixel Pitch
A diamond LED display uses angled panels or modules to create a faceted surface, rather than a conventional flat rectangle. The “diamond” describes the visual geometry, not a single technical standard. Some designs use rhombus-shaped modules; others arrange standard rectangular modules at an angle. That difference affects seams, mounting, and how smoothly images cross each facet.
Module size and pixel pitch determine how the display looks up close. Pixel pitch is the distance between neighboring LED pixels, measured in millimeters. A tighter pitch can preserve fine text and detail at short viewing distances, but it usually raises cost and processing demands. For a lobby viewed from several meters away, a wider pitch may look clean enough. Check the intended content, viewing distance, brightness, and refresh behavior before choosing. Tiny text is unforgiving.
A “best” display in 2026 depends on the room and installation, not the shape alone. Ask for a scale drawing showing module edges, pixel layout, and service access. Request close-up photos or a physical sample; rendered images can hide visible seams. Also confirm how replacement modules match in color and brightness. One practical detail is easy to overlook: angled surfaces can reflect light differently. I would test a sample under the venue’s actual lighting. Even then, the final image may feel less seamless than expected. That’s worth admitting.
Matching 1–4 mm Pixel Pitch to a 1–4 m Viewing Distance
For a 1–4 m viewing distance, a useful starting rule is roughly 1 mm of pixel pitch per metre: 1 mm at 1 m, or 4 mm at 4 m. It is a field heuristic, not a promise of invisible pixels. At that ratio, each pixel spans about 3.4 arcminutes, based on simple geometry. ISO 8596 uses a one-arcminute detail as the reference for standard visual-acuity testing, so viewers with sharp eyesight may still notice pixel structure. Not a guarantee.
AVIXA’s Display Image Size for 2D Content in Audiovisual Systems (DISCAS) guidance treats viewing distance and image content as design inputs. Apply that thinking to LED selection: a 1 mm pitch can suit close-up text and fine product detail, while 3–4 mm may work for larger graphics viewed from farther back. Check the actual content, not just the screen size. A thin white line on a dark background exposes gaps quickly.
At the venue, stand at the nearest audience position and inspect small type, gradients, and moving footage. Ambient light and eyesight change the result. Measure on site. If the display sits near a walkway, the closest viewer may be much nearer than the room’s average distance. I would not treat the rule as a substitute for a sample panel; that extra check can reveal issues a specification sheet misses.
Comparing 5,000–10,000 nit Brightness and IP65 Outdoor Protection
A diamond LED display for outdoor use must stay readable under hard daylight, not just look bright in a showroom. A 5,000–10,000 nit range gives designers room to manage sun exposure, viewing distance, and content contrast. For context, daylight illuminance can approach 100,000 lux, as described in CIE outdoor-lighting guidance; lux and nits measure different things, so they should not be compared directly. High peak brightness helps, but poor contrast or glare can still flatten an image.
IP65 is a useful baseline for outdoor protection. Under IEC 60529, the first “6” indicates dust-tight protection, while “5” means protection against water jets. It does not mean the display can be submerged. Ask for test documentation for the complete cabinet, including seams and cable entries, rather than relying on a component rating. Real installations collect grime around edges. That detail is easy to miss.
Tips: Request a daylight demo at your actual viewing angle, and check brightness controls at night. Maximum output is not a sensible all-day setting; it can waste power and make nearby viewers uncomfortable. A small practical compromise: leave service access around the cabinet, even when the design looks cleaner without it.
What Is the Best Diamond LED Display in 2026?
Comparing 5,000–10,000 nit brightness levels for outdoor viewing
These are illustrative brightness targets, not results for specific products. Higher nit levels can improve visibility in direct sunlight. For outdoor protection, look for a verified IP65-rated enclosure: IP65 indicates dust-tight protection and protection against water jets, but not submersion.
Ranking 2026 Diamond LED Displays by Resolution, Power, and Service Life
What Is the Best Diamond LED Display in 2026?
Ranking 2026 Diamond LED Displays by Resolution, Power, and Service Life
A useful 2026 ranking compares more than headline specifications. For diamond-shaped installations, check pixel pitch, module alignment, and image quality at the intended viewing distance. A finer pitch can sharpen close-up content, but it may add cost without improving a display viewed from across a lobby. Inspect gradients and small text, not just vivid sample videos. The difference can be obvious.
Power figures need context. Compare typical consumption during realistic content, not only maximum draw at full brightness. Ask for measured data and note the brightness setting, screen size, and operating conditions. A display in a bright atrium may need more output than one in a dim gallery. That changes operating costs. Service life also depends on heat, usage, and maintenance. Check how the manufacturer defines its lifespan estimate, including the brightness level used as the endpoint. A number without a test method is hard to compare.
Tips: Request a live demonstration with your own content. Check ventilation, access to replaceable modules, and warranty coverage. These practical details matter, though they are easy to overlook when comparing resolution alone.
